Easy Way to Make a Weighted Blanket
Learn how to make a weighted blanket with this weighted blanket sewing tutorial. Step by step instructions for the perfect sensory blanket. These sensory blankets may be helpful when dealing with anxiety, autism, ADHD, sleep struggles, Parkinson's disease, and more. Find more details on making DIY weighted blankets.
Click to read also: Handmade Gifts for Children
Some links on this site are affiliate links and as an associate I may earn a small commission at no cost to you. Click on the images and blue text to be taken to links. Thank you! Learn more.
Looking for a Ready-Made Weighted Blanket?
What You'll Find on This Page
If you decide to look for a ready-made weighted blanket, I recently discovered these for sale on Amazon. There are also several sellers on Etsy, and weighted blankets have become so popular that you can even buy them at Target!
Even with so many ready made blankets available, sometimes it makes more sense to make one. This is especially true if you are trying to cater to a child's interests, like I did when making these Harry Potter weighted blankets.
This tutorial can be used to make weighted blankets to sell, but please give credit to my site in your listing.
Drop by this post if you are looking for more resources for dealing with sensory issues.
You may also find these sensory activities to help kids calm down and stay calm helpful.
Learn How to Make a Weighted Blanket
Weighted Blanket Tutorial
What Are Weighted Blankets Made Of?
Choosing the right materials is an important part of sewing a weighted blanket. This post on what weighted blankets are made out of has everything you need to know, and I highly recommend reading it before you start sewing. T
These are the basics you need; you can also buy weighted blanket kits on Etsy.
- Sewing machine
- Poly pellets (learn how to make a weighted blanket without pellets)
- Fabric (some readers use receiving blankets or duvet covers)
- Thread
- Scissors
My weighted therapy blanket materials post offers some alternate fillings if you don't want to use poly pellets as a filler.
How Much Should My Weighted Blanket Weigh?
The basic guidelines for weighted blanket weight is 15% of healthy body weight for children and 5-10% of healthy body weight for adults. There are a few studies, however, that show that there may be benefits to using heavier blankets. You can find more details along with weighted blanket weight calculators, charts, and more in my weighted blanket weight post.
DIY Weighted Blanket Sewing Instructions
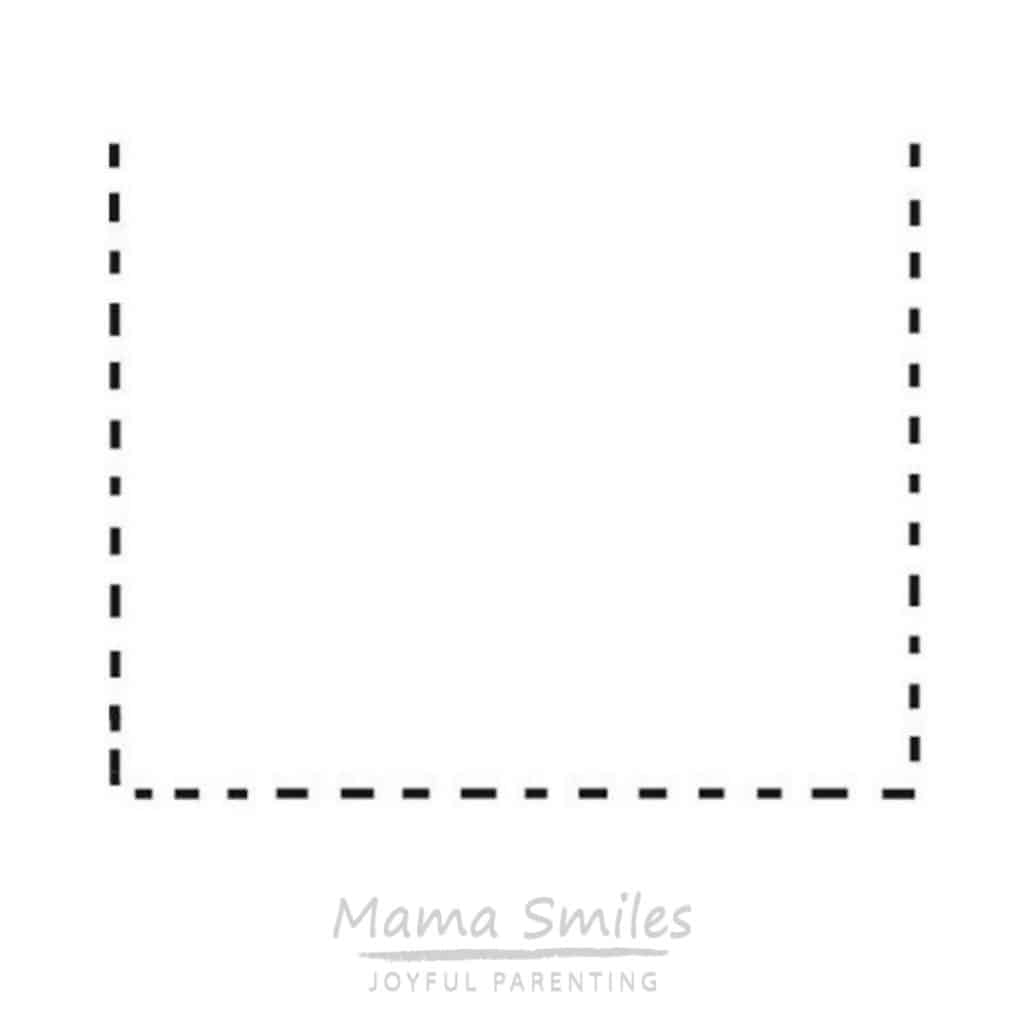
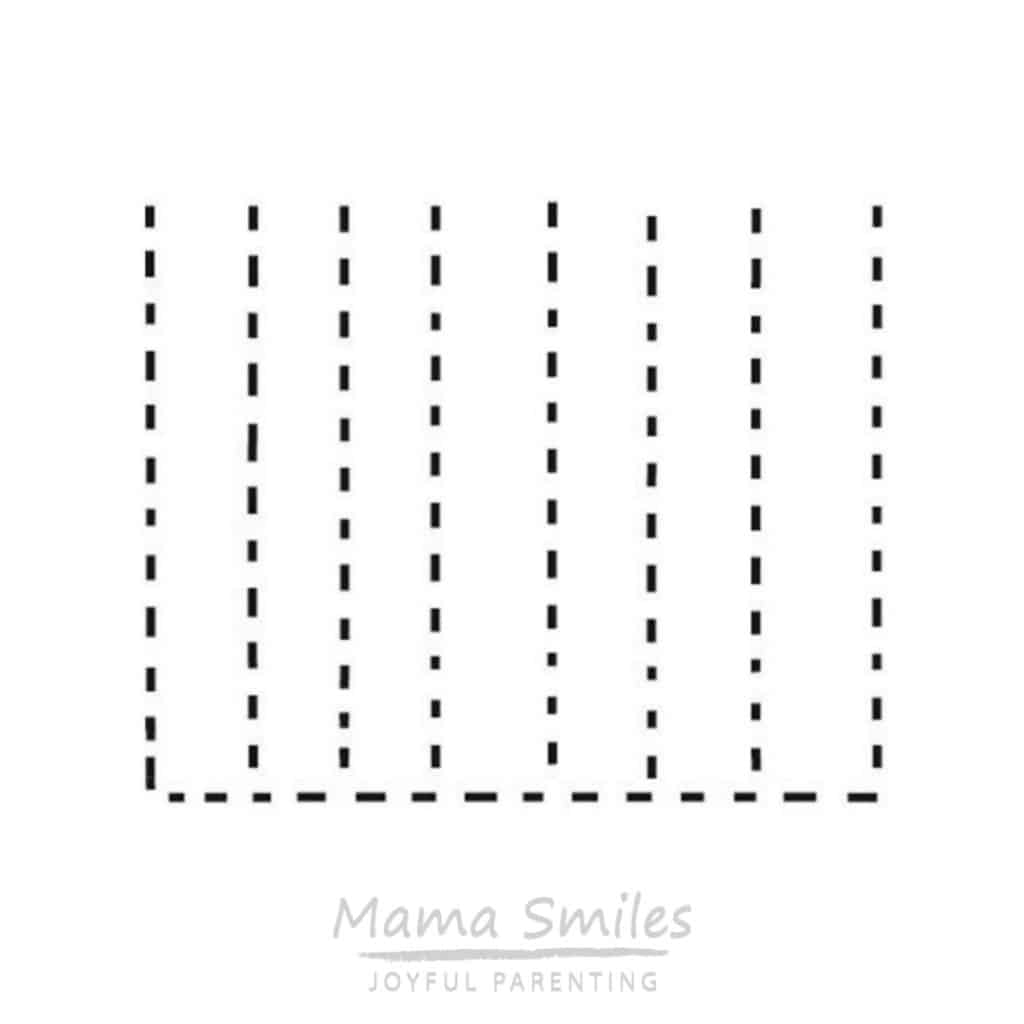
STEP 1: Stitch your fabric together on three sides. OR, if you are sewing a large blanket, stitch the two side edges plus a center seam. You will then fill the blanket from the center out.
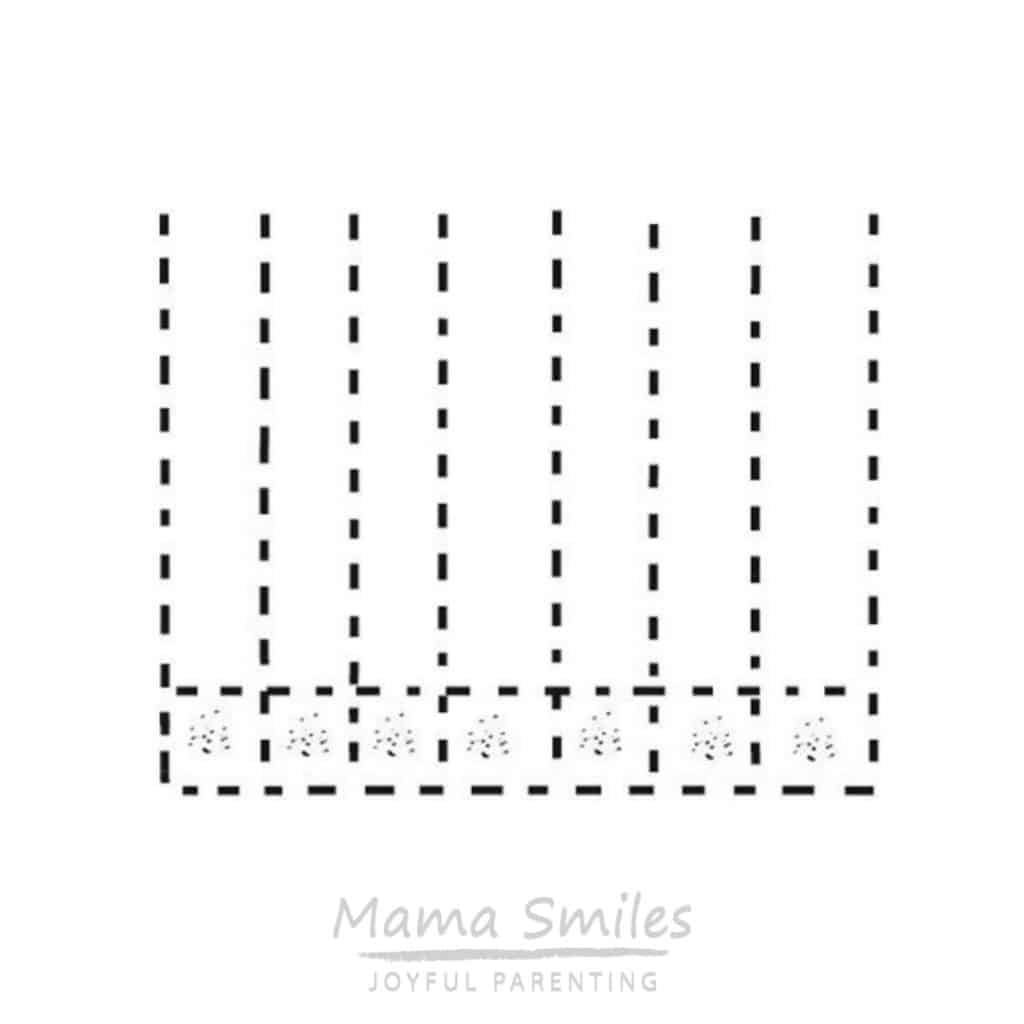
STEP 2: Stitch vertical columns. Mine were about four inches apart.
Making larger blankets: Anniebananie also had the wonderful idea of leaving both the bottom and the top open for larger blankets. She then stitched a horizontal center seam and worked her way out from both ends – less bulk to work with while stitching!
Another reader, Cicely, turned her sewing machine sideways, as she found it easier to manipulate the fabric and keep the beads in place that way.
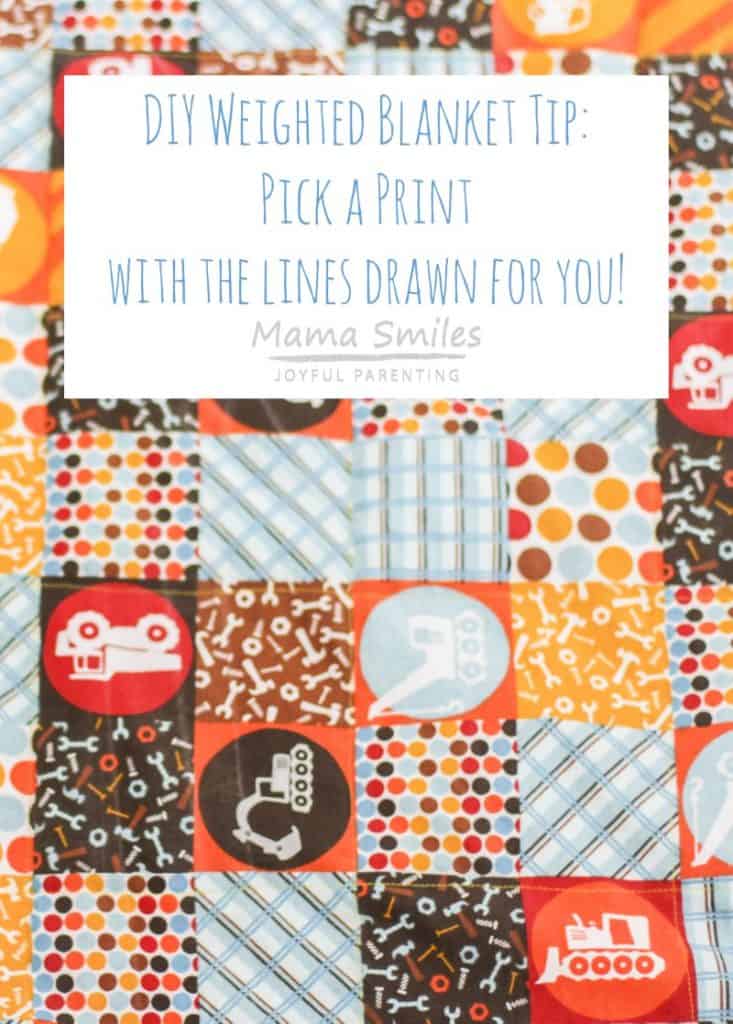
This process is much easier if one of your fabrics has a pattern you can use as a guide; otherwise I recommend measuring out and drawing on your stitching lines with a washable fabric marker or a disappearing ink fabric pen (you can buy these at the fabric store; but if you don't have a fabric store nearby the Crayola kids washable markers also work).
I was having camera issues and this photo isn't very good, but if you look closely you can see how I used the pattern as a stitching guide. You could stitch directly on the printed lines; I found it easier to line up my presser foot with them:
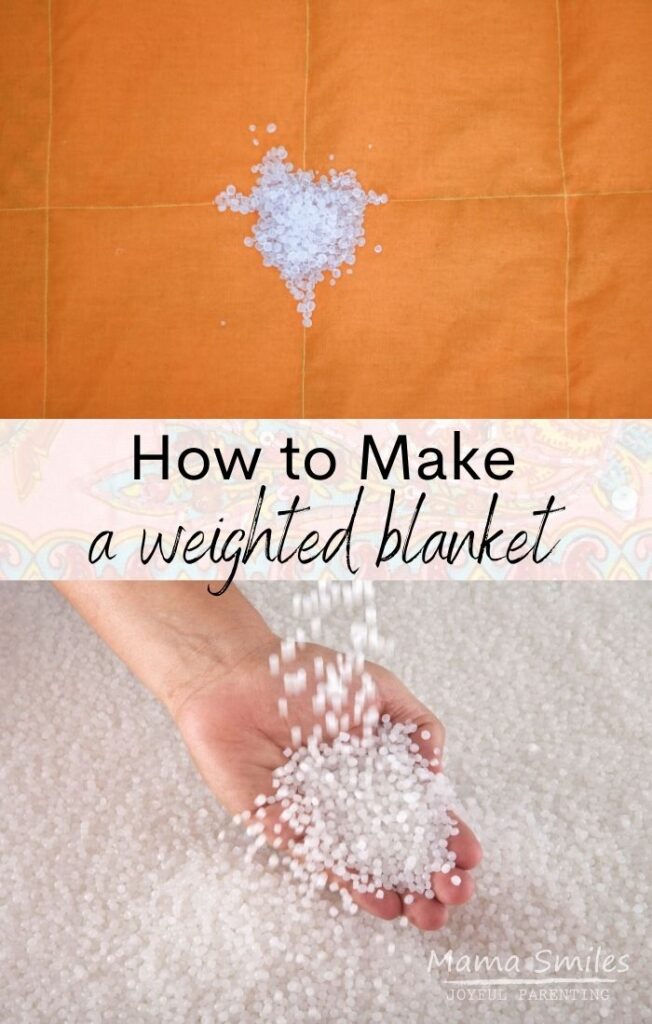
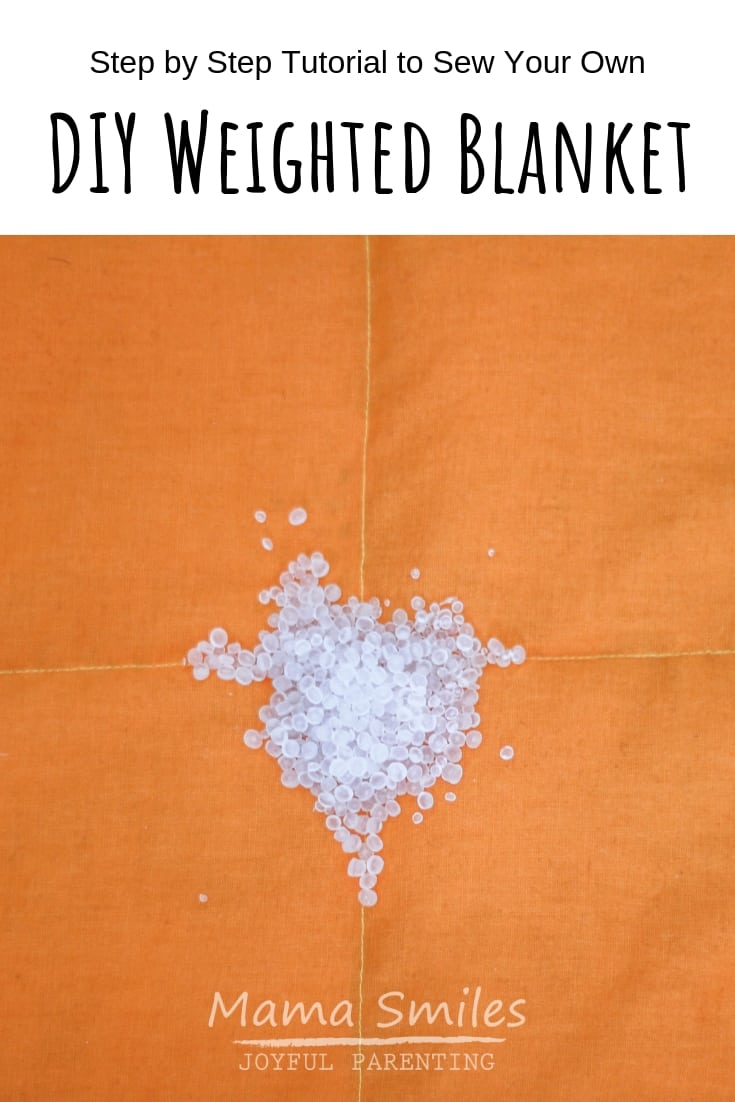
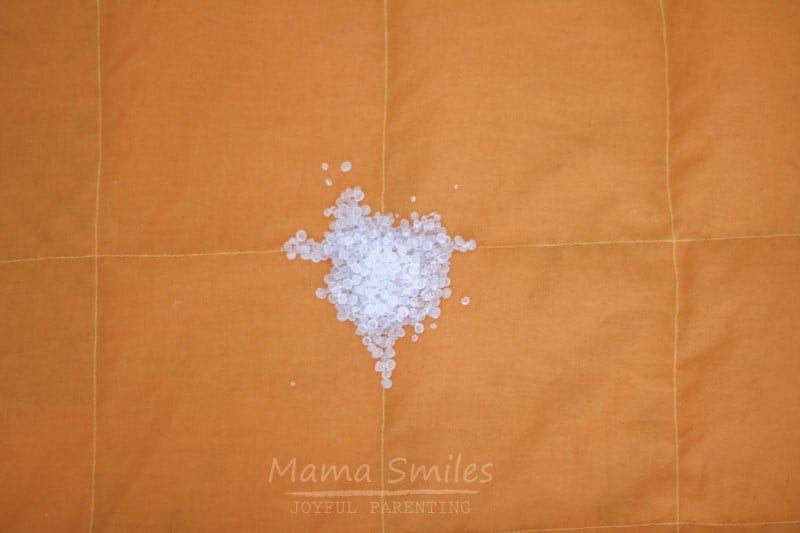
STEP 3: Add your poly pellets. This is what they look like – and I think it's cool that they accidentally formed a heart-like shape.
Filling Your Homemade Weighted Blanket
STEP 4: Fill each column with however many pellets you want per space. I used about 1/4 cup of pellets for each roughly 4×4 inch compartment.Note: the final blanket should not be heavier than 10-15% of the user's body weight for children, and no more than 5-10% of an adult's ideal weight.
Here is a calculator you can use to figure out how many pellets to put in each square:
(number of ounces needed)/(number of squares) = how many pellets you need per square.
Remember, there are 16 ounces in each pound, and calculating this amount in grams may be easier. You can weigh out the amount of pellets for each square using a kitchen scale.
If you prefer to measure your pellets, put them in a measuring cup and then calculate how many tablespoons you need per square. There are 16 tablespoons per cup.
Multiply the number of cups by 16, and then divide that number by the number of squares you intend to sew. This will tell you how many tablespoons of pellets to put in each square.
How to Figure Out How Many Pellets Per Square in a Weighted Blanket
Use this simple formula to figure out how many pellets to put in each square of your weighted blanket:
(number of cups x 16)/(number of squares) = how many tablespoons of pellets you need per square.
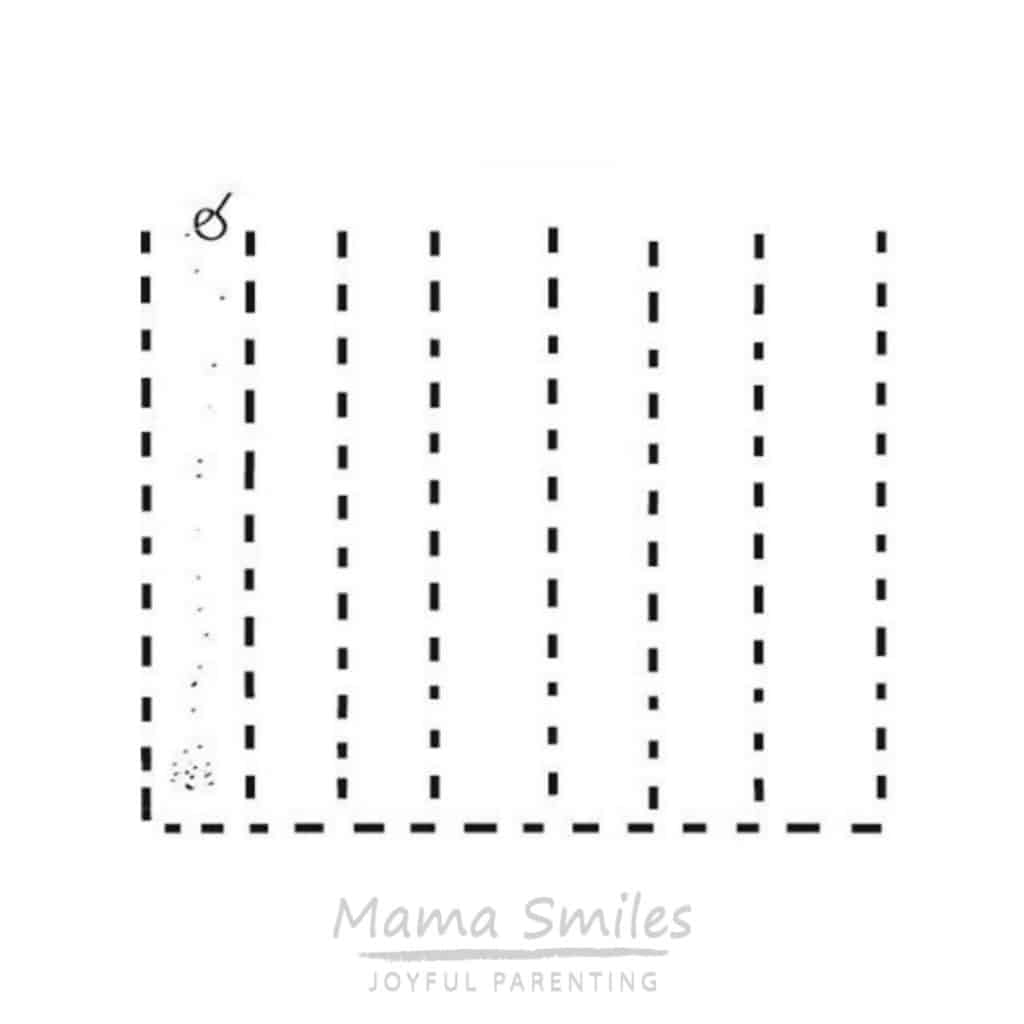
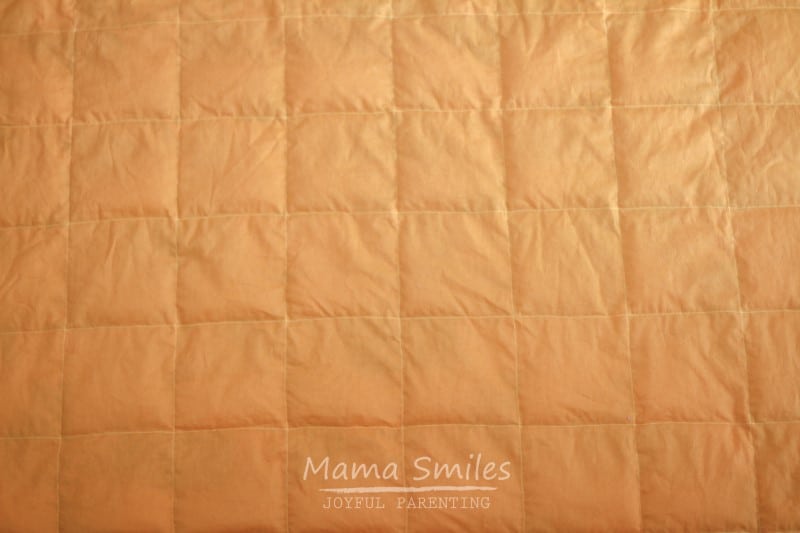
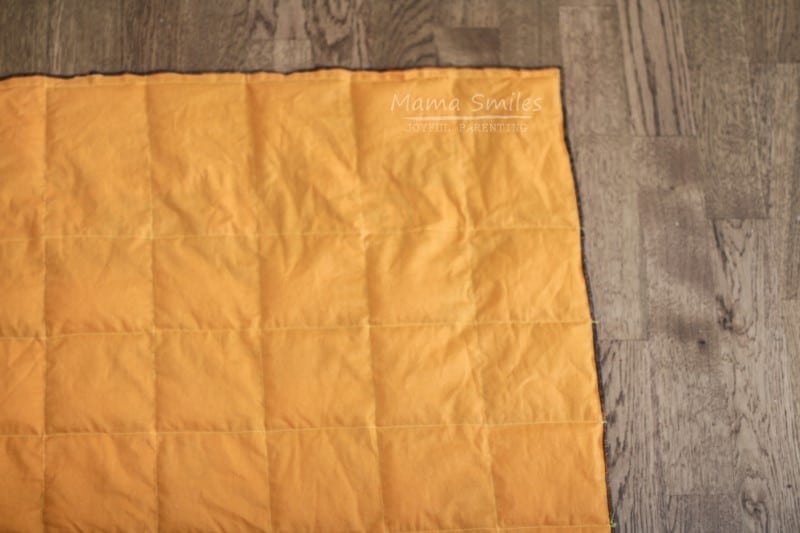
STEP 5: Once all of the columns have been filled, stitch across that row. Then repeat until you have filled up to the top of your blanket. I made the top row about 6 inches tall instead of 4, because that made it easier to stitch the blanket shut.
Here you can see the filled, stitched pouches. Orange is my nephew's favorite color, and I'm showing the plain side so that you can see the stitching:
Finishing off your DIY Weighted Blanket
Reader Linda Schmidt emailed me this tip for finishing the final rows, which I know a lot of people have struggled with:
"Getting closer to the last few rows I stitched almost all of the way across each of the the pockets leaving only enough room for the bottom of a funnel to fit in. This kept most of the pellets from cascading out as the last stitches were placed."
Thanks for the tip, Linda! I love seeing photos of the quilts people have made and receiving feedback like this!
Another reader recommends filling only a few pockets at a time towards the end.
STEP 6: Finish the edges. You can bind them, but I took the easy route and serged them. Stitch on binding for a more finished look.
If using with a child, please be sure they keep their head outside of the blanket.
Now that you know how to make a weighted blanket, I would love to see photos of the blankets you sew!
Share comments and feedback below, on my Facebook page , or by tagging me on Instagram . Sign up for my newsletter to receive book recommendations, crafts, activities, and parenting tips in your inbox every week.

MaryAnne Kochenderfer
MaryAnne lives is a craft loving educator, musician, photographer, and writer who lives in Silicon Valley with her husband Mike and their four children.
Source: https://www.mamasmiles.com/sewing-tutorial-how-to-make-a-weighted-sensory-blanket/
Post a Comment for "Easy Way to Make a Weighted Blanket"